Vintage Radio Restoration - Bakelite Radio Cabinets
Vintage Radio Restoration - Bakelite Radio Cabinets

GETTING A FLAWLESS FINISH PAINTING BAKELITE
I got a question from an Old Radio Newsletter subscriber about how to best repaint a chipped factory paint job on an old Bakelite radio. We touched a bit on this in our 3-part series on Bakelite repair, but I don't think we ever covered a step-by-step method of repainting Bakelite. So, here's a method that's worked very well for me...
First, don't bother stripping the old paint. It's much too messy and caustic to bother with. Instead, use a sanding sponge and sand over the entire cabinet, paying particular attention to smoothing over any chips or flakes in the original paint. You'll probably sand right through the original paint in many areas. This is quite alright. Just make sure you leave yourself a nice smooth finish to paint over.
Then, wash the radio in a little soapy water, using an old toothbrush to get in all the corners and crevices, and let dry COMPLETELY. When dry, apply a coat of primer to give yourself a good, smooth undercoat. Sand this down a bit and reapply if needed. Then, apply your paint. For radios that were originally painted white, I've found that using an Antique White best duplicates the aged appearance of an original paint job. Put on a number of thin coats, spraying only one horizontal section of the radio at a time. Spray the top first, and let dry for at least a half an hour or so. Spray the front and let dry, spray the left side and let dry, then spray the right side, and let dry. Repeat this process until you've built up three or four very thin coats over the entire radio. Be patient to avoid drips! Let the radio dry overnight.
Original factory paint jobs were actually baked on! This is why they're still so durable and hard to strip. You can replicate this procedure with the oven in your own kitchen. A word to the wise -- you might want to wait until there are no responsible adults around to catch you using the oven for this :-)
Just place the radio on the middle shelf of the oven and turn on to a very low temperature, around 110 degrees Fahrenheit or so. Then just let the radio bake for a few hours. Turn off the oven and leave the radio in there, so that it will gradually cool down along with the oven. This will keep the paint from cracking as it cools.
When you're done, any runs or drips (which spraying a thin coat one section at a time should greatly diminish) can be sanded out with your sanding sponge. You may need to apply one final coat after sanding these out. As the final step, rub the paint down with extra-fine 4-O steel wool, wetted in Lemon Oil, then wax and buff with a thin coat of paste furniture wax. It's a rather involved process, but I think you'll be amazed at the results!
BORING OLD BAKELITE? NOT IF WE CAN HELP IT!
Bakelite was a heat-molded phenol-based precursor to modern plastics. It could be molded into almost any design imaginable, and unlike modern plastics, was almost indestructible. However. It was rather brittle and could crack, plus it was susceptible to fading if exposed to years of sun. We'll cover crack repair next time, but here's a method to rejuvenate even the most faded Bakelite cabinet!
First, remove the radio and all hardware until you're down to the bare Bakelite cabinet. Either cover the paper label with plastic, or carefully remove it and re-glue it when you're done. You can remove paper labels (from Bakelite only! Don't try this on wood or modern plastics!) by dissolving the glue with a little Acetone. Acetone will have no effect on the label itself, but will just loosen the glue so it slides right off. If you have ANY question about the use of Acetone on a radio, try it on the inside of the cabinet in an inconspicuous place first.
Now give the radio a good cleaning with warm water and mild dish washing soap. Use a toothbrush to get in all the tight places. Allow to dry. Once the radio is clean, begin the polishing process. I use Wright's Brass Polish Cream, of all things. With a clean rag, apply a light coat of brass polish to the radio and allow to dry to a thin, white, chalky film. Using another clean, soft cloth, buff the polish off. You may need to do this three or more times for faded or scuffed Bakelite, but once or twice is sufficient for most radios. As you polish, you may notice a rather gross, brown substance on your rags. This is tobacco tar built up from years of second hand smoke! The more of this you can remove, the shinier your radio will be. Plus, imagining this gunk in your lungs may give you added incentive to kick the habit, an ancillary benefit to restoring old radios ;-)
The brass polish can also buff out small nicks and scratches while providing a great, glossy finish to your Bakelite. Use brass polish on the clear plastic dial lens covers and knobs, too. But be careful to use this ONLY on bare Bakelite, and not on any painted areas, or applied labels or logos, as the polish will REMOVE them. And never apply it to the dial face itself, or to a dial lens cover that is not plain, clear plastic. It'll rub off the design. I've learned that the hard way!
After polishing, apply a few light coats of paste furniture wax with a damp rag and buff off. Do this a couple of times, three or more for badly faded Bakelite. This whole process may take a few hours, but you'll love the fabulous, mirror finish you can get on your old Bakelite radios! I've gotten amazing results with just a little elbow grease, but many collectors use buffing wheels and the effect is great.
Next time we'll talk about deep fading and scratches, and repairing cracked Bakelite!
Do you know friends or fellow collectors who might enjoy the Old Radio Newsletter? Have them e-mail bretsoldradios@att.netfor a free subscription
Now available: Antique Radio Restoration Volumes 1 and 2, or a special package of BOTH at a 20% discount. Visit my (rudimentary.) website to view a special streaming PREVIEW of Volume 2!
SINGLE PRICE:
Volume 1 or Volume 2 on VHS: Send $34.99 + $3 S&H
Volume 1 or Volume 2 on DVD: Send $39.99 + $3 S&H
PACKAGE PRICE:
Volume 1 & 2 on VHS: Send $59.99 + FREE U.S. SHIPPING! --- SAVE OVER $15!
Volume 1 & 2 on DVD: Send $69.99 + FREE U.S. SHIPPING! --- SAVE OVER $15!
Send Check or Money Order payable to Bret Menassa at the address below, or PayPal to bretsoldradios@att.net
Bret's Old Radios
P.O. Box 51671
Denton, Texas 76206
To thank the Author because you find the post helpful or well done.
Bret's work is fabulous! I have found a way to make bake-lite look like it just came from the factory! Some might say its cheating a bit, but the results are grand. Take the cabinette in the sink, ans with bon-ami and a soft sponge give it a good scrub. Let her sit, until completely dry. Use a couple of dabs of old english scratch remover ( dark color) and rub it in to bake-lite . you will see it looking good already. Then use a high gloss tung oil...thin even coats. Let it dry, and if you wish you can give it more coats. You will be amazed! Give it a try on wood too!
All the best.....Al
To thank the Author because you find the post helpful or well done.
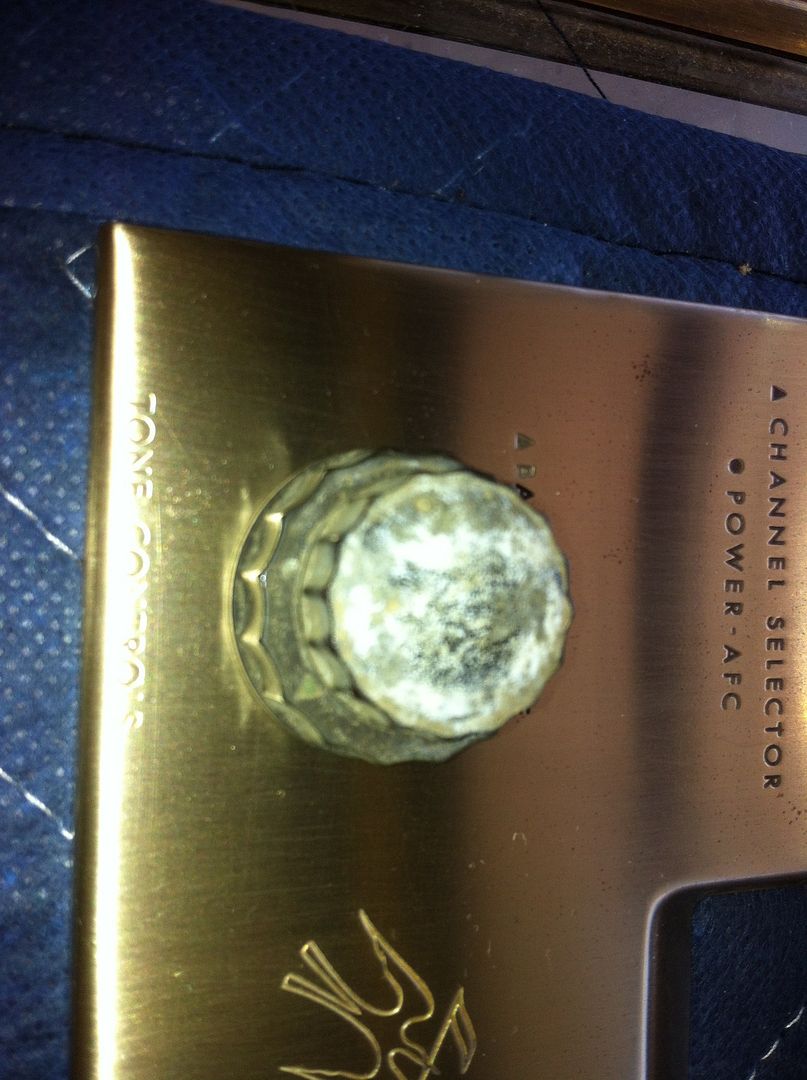
Bakelite knob restoration
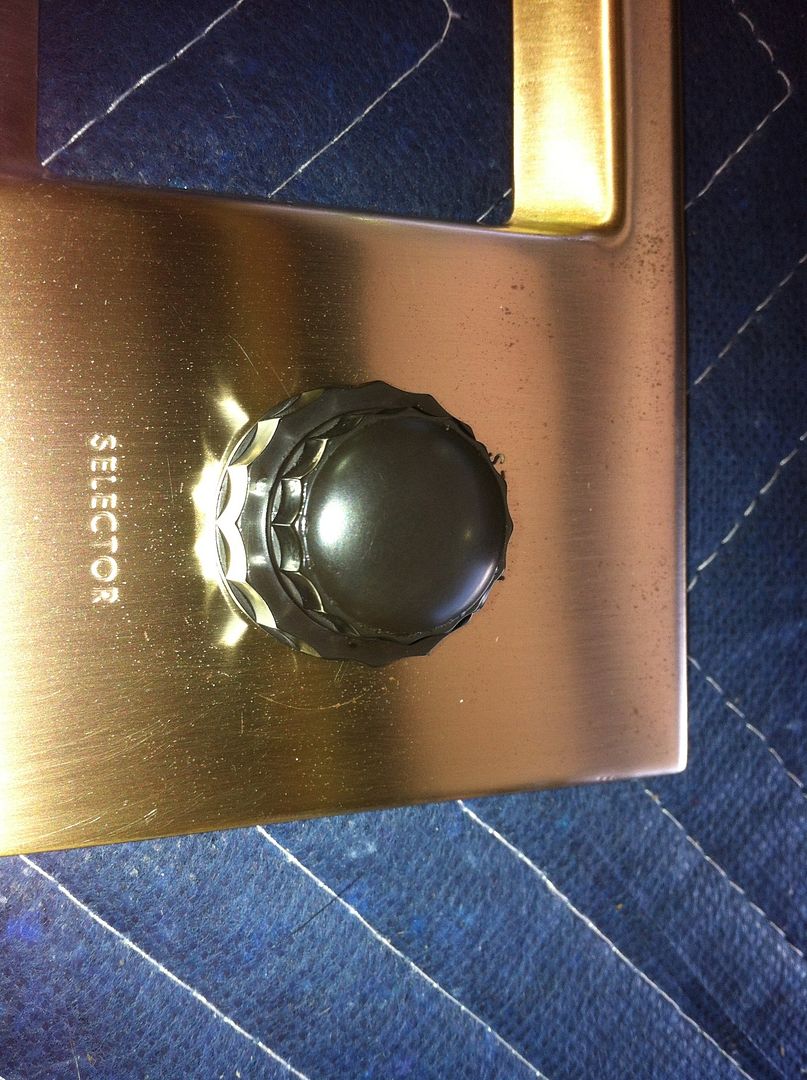
I want to add to this document. Many metal front equipment still has bakelite knobs. They can become terribly ugly over time. I used brass polish to restore the knobs on this "Fisher model 80-T". It is important to NOT use ordinary cleaners when confronted with this kind of deterioration. As stated in the article, brass polish all the way!
after
To thank the Author because you find the post helpful or well done.
Modele indentification et tuning
excusez-moi - j'avez un problème d'identification s'il vous plaît voir la photo ci-jointe - j'espère que quelqu'un sera en mesure d'identifier ce.
J'ai aussi un problème avec la façon de restring la commande d'accord - est-il une relation entre le nombre de tours autour de la broche à la taille de la roue reliée à la capacitor variable /forumdata/users/20743/DSCN1337.JPG
To thank the Author because you find the post helpful or well done.