rca: RCA Victor 45-J-2 Restoration
rca: RCA Victor 45-J-2 Restoration
I purchased this record changer in October of 2017 in overall good condition, but it did not play and exterior was quite dirty with scratches and tape residue.
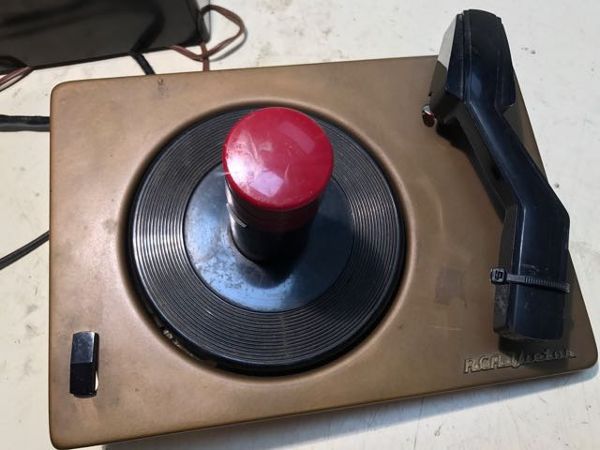
Internally, the chassis was also in good overall shape, but AC wiring was dangerously exposed and the phono cable was damaged.


A new AC cable and phono cable were installed and after lubricating the motor, etc. I ran the changer to see if the motor and turntable were operative and to see if the cartridge produced sound. While the motor and turntable did operate (albeit noisily and weakly), the cam mechanism was so worn and dried out that automated dropping would not activate. The crystal cartridge barely produced any sound as it too, was dried and worn.

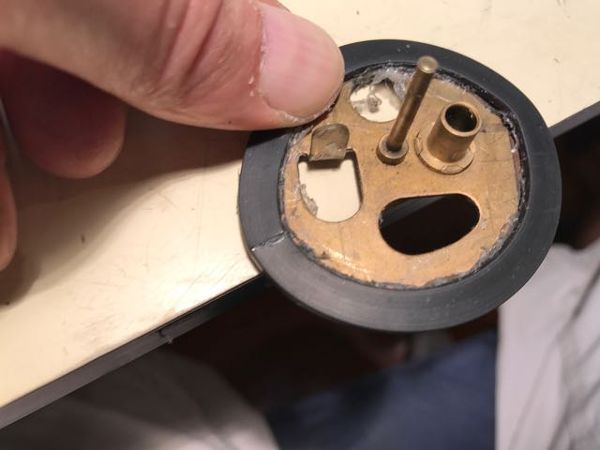
I purchased a kit from "Super 45 Sound" on eBay which contained a replacement idler wheel, new rubber surround to be used on the existing cam and new motor mounts. Replacement of the idler and motor mounts was straightforward, but you need to do a bit of work to retrofit the original cam. First, the old wheel must be completely removed and the surface cleaned and prepared. The new wheel is applied and held in place using super glue. Next, a notch must be cut with a sharp blade to replicate the original. The supplied parts and instructions in the kit were good so they get my recommendation.

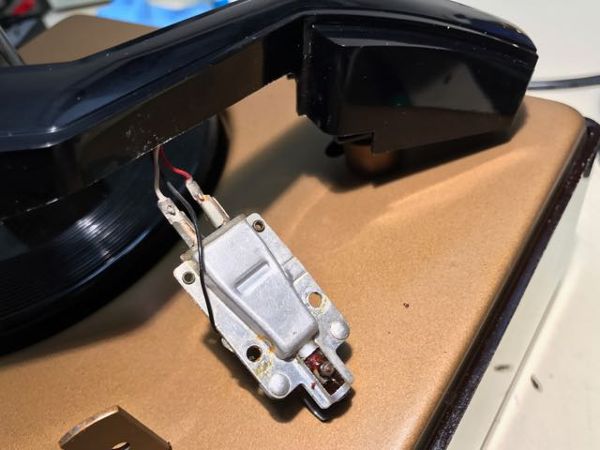
The cartridge was replaced with an Astatic 51-1 purchased in kit-form (K45-B) from thevoiceofmusic.com. I'd recommend this kit as well. It included the new cartridge, new leads and the necessary screws and plastic washers. As noted with the instructions for this kit, the new cartridge is lighter than the original, so weight should be added to the tonearm to reach the recommended 6-8 grams of tracking force. I've seen rebuilds of this player where a coin or washer was super-glued in the headshell to achieve this, but I opted for what I think is a cleaner solution. I cut and dremelled a small metal strap to the proper weight and size to fit nicely under the cartridge in the headshell. I had purchased a bunch of these connecting straps years ago from Lowes and I always seem to find good uses for them.
The replacement cartridge has about half the output of the original (.5V vs 1V) and I was concerned that the output would be lacking. It hasn't been a problem, though, as it plays loud and clear on a Zenith Y825 i recently restored. Recently, I've seen rebuilds of this player on eBay where a more modern stereo/diamond cartridge was used as a replacement. While this does make the player more universal, my preference was to find a replacement closest to the original and to use the player strictly with period radios.


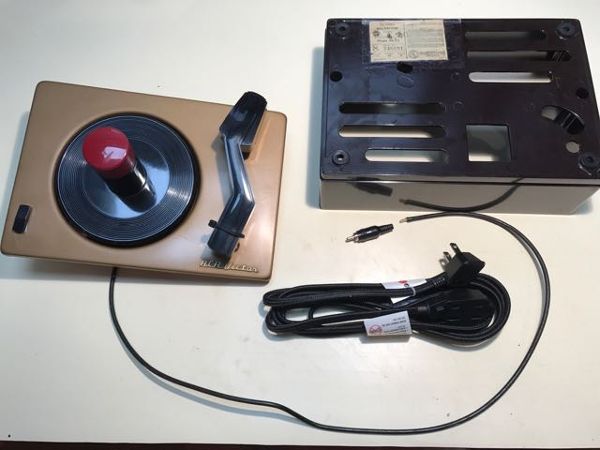
Worn and dried up was a definite theme for this player as the rubber feet were so crumbled and squashed that I found it amusing and almost beyond belief. They looked as though they had melted. So, after extensive chiseling, the old feet were removed and I used some rubber grommets to replace them. I actually ended up not using the grommets shown in the attached photo as they turned out to be too low in profile to lift the player above the AC and phono cables exiting underneath the chassis. The ones I settled on (also purchased at Lowes) are a bit beefier and more suitable.


Finally, I lightly sanded the outer surface of the metal chassis to remove scratches (there was an especially large one caused from the stylus repeatedly gouging the surface) and to prepare it for refinishing. It was repainted with Testors "One Coat Lacquer" in Bronze. The color very closely matches the original, but I'm not sure I'd use this product again. The finish goes on easily and looks excellent, but even after days of drying I don't find it to be highly durable and one must be somewhat careful with it.
I used a combination of Novus 3 and Meguires Scratch X 2.0 to remove the scratches from the lower, plastic portion of the player. I find the Novus 3 does a great job removing larger impressions, but it leaves a bit of swirling. The Scratch X works wonderfully for removing these swirls. Much better, in fact, than the Novus 2. A layer of Simoniz carnauba was then applied.
Once the player was reassembled, it required a fair amount of tweaking to get the automated dropping, etc. to work properly. Fortunately, the original service manual was available online and it provided excellent instructions on how to use the four adjustment screws to dial everything in. Interestingly, the manual also includes instructions on how add a phono input and switch to a radio that doesn't provide the feature.
I've run the player extensively and it goes through a stack of 45s without issue. Listening to it on a period radio, I sometimes shake my head at how great it sounds (this thing shines playing some Elvis!). When I first saw this player in the antique store, I dismissed it as a kid's toy, but I'm glad I picked it up. It's no toy and one of the earliest examples of players made to play 45 records. I won't go into the history of the format wars of the time (45s vs. LPs), but it's a fascinating subject worth looking up if you're not already familiar.

To thank the Author because you find the post helpful or well done.
rca: RCA Victor 45-J-2 Restoration

This is beautiful work, thank you for posting!
To thank the Author because you find the post helpful or well done.
rca: RCA Victor 45-J-2 Restoration
Thank you, Omer! Really appreciate that.
I’ve started a YouTube channel showing some more of my work that will eventually make it to the Radio Museum. I’m a bit of a novice, but I get the job done!
YouTube Channel: Flux Condenser
To thank the Author because you find the post helpful or well done.