tele-tone: Speaker Cone Repair
tele-tone: Speaker Cone Repair

Fellow Radiophiles,
Sometimes it is fun to put an unreasonable amount of effort into a repair.
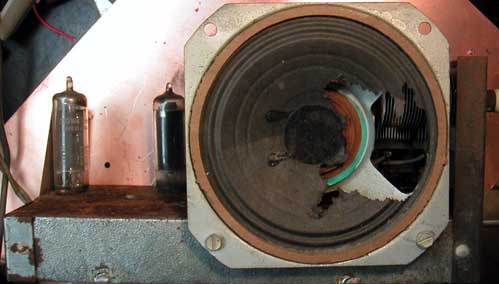
One such case is the repair to the paper cone of the 4" speaker in this inexpensive American AC/DC set.
This cone had a hole covering almost one third of the area that was probable the result of rodent damage.
The speaker could have been easily replaced, but it was more fun to repair it.
The repair consisted in replacing the missing paper with paper from a common coffee filter. I stiffenned and glued the coffee filter paper with clear acrylic nail polish.
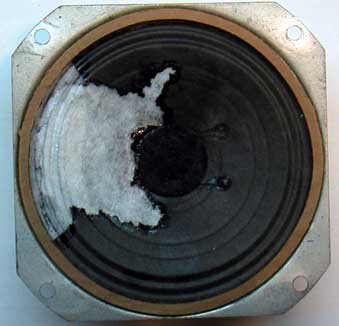
I rebuilt the inner section of the cone first, with a semicircle of coffee filter paper. I cut the paper to come up to the edge of the speaker "surround".
I applied this section to the back of the existing cone with acrylic nail polish and let it dry out.
Now I had an arc shaped gap where the surround still had to be rebuilt.
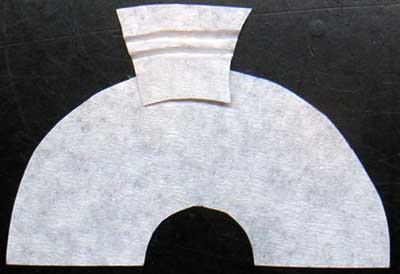
Then I cut a wider arc of coffee filter paper to overlap with the first section of coffee filter paper. The diameter of this arc must be significantly wider than the final diameter of the speaker to allow for the folds in the "surround".
 I drew several arcs in the coffee filter arc to mark the location for the creases, and left about 1/4" overlap with the inner coffee filter rebuilt section.
I made the creases on the arc before applying the arc to the speaker with a sharp cylindrical edge that I rolled over a bed of soft paper.
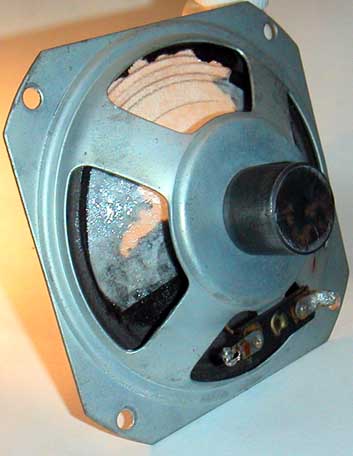
After applying the coffee filter paper arc with acrylic nail polish, I let it dry and trimmed off the excess past the edge of the speaker.
The surround was gently worked in place while it was wet with the acrylic nail polish.
The overlap flap from the curround section was tucked under the central section of the rebuilt cone that was already dry and set in place.
I chose to leave the paper in white because I was very happy with the repair, and making the paper black was not otherwise justified in this case.
While I was stiffening the coffee filter paper I applied a low frequency to the speaker and listened for rattles. I had to trim some loose ends and make sure there were no gaps in the glue.
This set arrived with a lot of rust, but a sanding head on the mini drill cleared it up.

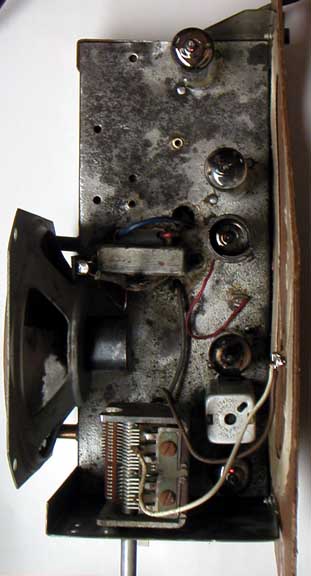
There was very little wrong with this set: a broken power switch and a few bad capacitors. I also added a 250mA MDL slow blow fuse at the power switch as an added measure of safety. The internal ground is AC-coupled to the chassis with 0.05uF. One unusual feature in this, otherwise very modest set, is the fully enclosed metal chassis with a metal bottom cover.
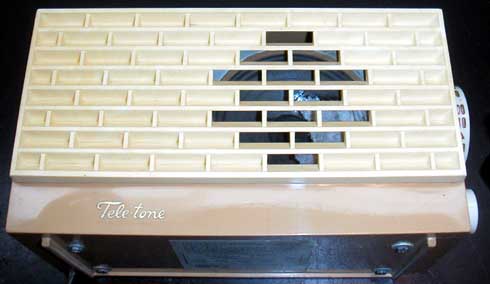
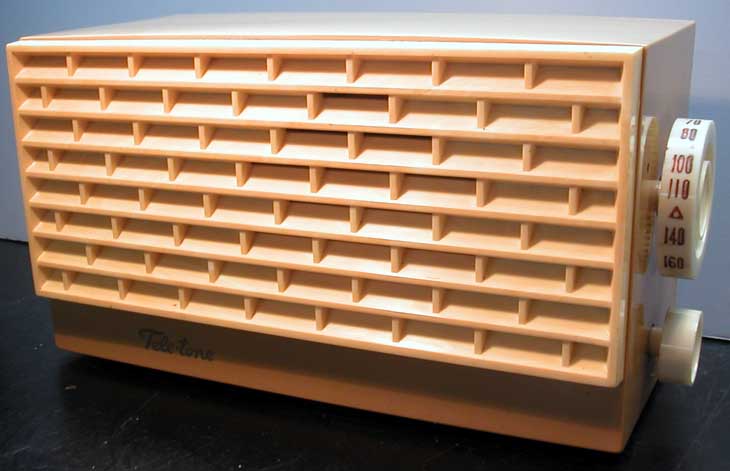
The grill is wide enough to show the speaker repair.
But the speaker is out of sight in normal use.
I bought this AM set while I was looking for the FM version, a Teletone model 1000. I was oriented in my search with help from our fellow radiophiles at www.antiqueradios.com.
Still looking for the FM version.
Regards,
-Joe
To thank the Author because you find the post helpful or well done.
speaker repair

Hi there, I need to repair a speaker and found your post. I have a small tear at the edge of one of the woofers in my TELEFUNKEN OPUS , about a '55 model with the 2 round 6 inch woofers . Do you think this method with cofee filter paper and acrylic nail varnish will be appropriate? it has to be quite sturdy for these speakers as with the push-pull output they get quite a workout. I was wondering why the nail vanish was chosen as an adhesive. Will it be strong enough and flexible enough ?
To thank the Author because you find the post helpful or well done.
Varnish stiffness and shrinkage
Hello Stuart,
I used the acrylic varnish because that is what I had on hand and a few simple experiments seemed to produce a suitably stiffened filter paper. The 4" full range speaker reproduces mostly mid-frequencies without the need for the cone edge at the surround interface to swing very widely.
You speak of a woofer, which requires great flexibility at the cone edge in the surround area. If I understand correctly, there is no paper loss and you simply have a small tear at the surround. In this case I have seen other speaker restorers use silicone glue to repair the tear while retaining flexibility. When the tear reagion is weakened, some thin filter paper could be used to strengthen the area.
Whatever glue you select, should be first tried with paper of comparable stiffness to the cone or with the thin filter paper. You should also consider if the glue is removable with a solvent.
The particular acrylic nail polish I used proved to shrink slightly over time. In retrospect it would have been better to use a varnish that was designed for long term use on furniture that will shrink very little.
It would be good to see your final results.
Regards,
-Joe
To thank the Author because you find the post helpful or well done.
speaker repair
Thanks for the reply Joe. In answer to your question there was just a small tear without paper loss but now there is paper loss.
Some years ago I did repair the small tear with a glue that appeared flexible when dry and for a time it was quite satisfactory but after a few years the glue was found to have hardened and split. I therefore had no option but to carefully cut away the jagged edges leaving a hole about 2-3 cm long and 0.5-1 cm across lengthways around the speaker perimeter. So as with your case the glue was initially OK but did not last in this condition, and of course it will be difficult to predict how a glue will dry after some time unless it has already been tried by someone and left some time.
For the moment I have replaced the speaker as it works perfectly well like this and I dont want to risk anymore damage. Im not sure if I should attempt a further repair or just leave it.
To thank the Author because you find the post helpful or well done.